> For the complete documentation index, see [llms.txt](https://docs.2pm.network/llms.txt). Markdown versions of documentation pages are available by appending `.md` to page URLs; this page is available as [Markdown](https://docs.2pm.network/model-inference/getting-inference-results-on-chain/oracle-adapters.md).
# Oracle Adapters
External adapters are how Chainlink enables easy integration of custom computations and specialized APIs. External adapters are services which the core of the Chainlink node communicates via its API with a simple JSON specification.
* [Contract Creators](https://docs.chain.link/chainlink-nodes/external-adapters/contract-creators) will need to know how to specify an external adapter in their request for external data.
* [Developers](https://docs.chain.link/chainlink-nodes/external-adapters/developers) will need to know how to implement an external adapter for an API.
* [Node Operators](https://docs.chain.link/chainlink-nodes/external-adapters/node-operators) will need to know how to add an external adapter to their node so that they can provide specialized services to smart contracts.
The following is a simple tutorial of creating a Chainlink Oracle Adapter.
### Node Operators: Running a Chainlink Node
Firstly, we need to run a Chainlink node locally, and we recommend using [Docker](https://docs.chain.link/chainlink-nodes/v1/running-a-chainlink-node#using-docker). The Chainlink node will be configured to connect to the Ethereum Sepolia.
#### Run PostgreSQL
Run PostgreSQL in a Docker container. You can replace `mysecretpassword` with your own password.
```sh
docker run --name cl-postgres -e POSTGRES_PASSWORD=mysecretpassword -p 5432:5432 -d postgres
```
#### Run Chainlink Node
1\. Create a local directory to hold the Chainlink data:
```bash
mkdir ~/.chainlink-sepolia
```
2\. Run the following as a command to create a `config.toml` file and populate with variables specific to the network you're running on. For a full list of available configuration variables, see the [Node Config](https://docs.chain.link/chainlink-nodes/v1/node-config) page. Be sure to update the value for `CHANGEME` to the value given by your [external Ethereum provider](https://docs.chain.link/chainlink-nodes/resources/run-an-ethereum-client/#external-services).
```toml
echo "[Log]
Level = 'warn'
[WebServer]
AllowOrigins = '\*'
SecureCookies = false
[WebServer.TLS]
HTTPSPort = 0
[[EVM]]
ChainID = '11155111'
[[EVM.Nodes]]
Name = 'Sepolia'
WSURL = 'wss://CHANGE_ME'
HTTPURL = 'https://CHANGE_ME'
" > ~/.chainlink-sepolia/config.toml
```
3\. Create a `secrets.toml` file with a keystore password and the URL to your database. Update the value for `mysecretpassword` to the chosen password in [Run PostgreSQL](https://docs.chain.link/chainlink-nodes/v1/running-a-chainlink-node#run-postgresql). Specify a complex keystore password. This will be your wallet password that you can use to unlock the keystore file generated for you.
```bash
echo "[Password]
Keystore = 'mysecretkeystorepassword'
[Database]
URL = 'postgresql://postgres:mysecretpassword@host.docker.internal:5432/postgres?sslmode=disable'
" > ~/.chainlink-sepolia/secrets.toml
```
4\. Start the Chainlink Node by running the Docker image.
```bash
cd ~/.chainlink-sepolia && docker run --platform linux/x86_64/v8 --name chainlink -v ~/.chainlink-sepolia:/chainlink -it -p 6688:6688 --add-host=host.docker.internal:host-gateway smartcontract/chainlink:2.13.0 node -config /chainlink/config.toml -secrets /chainlink/secrets.toml start
```
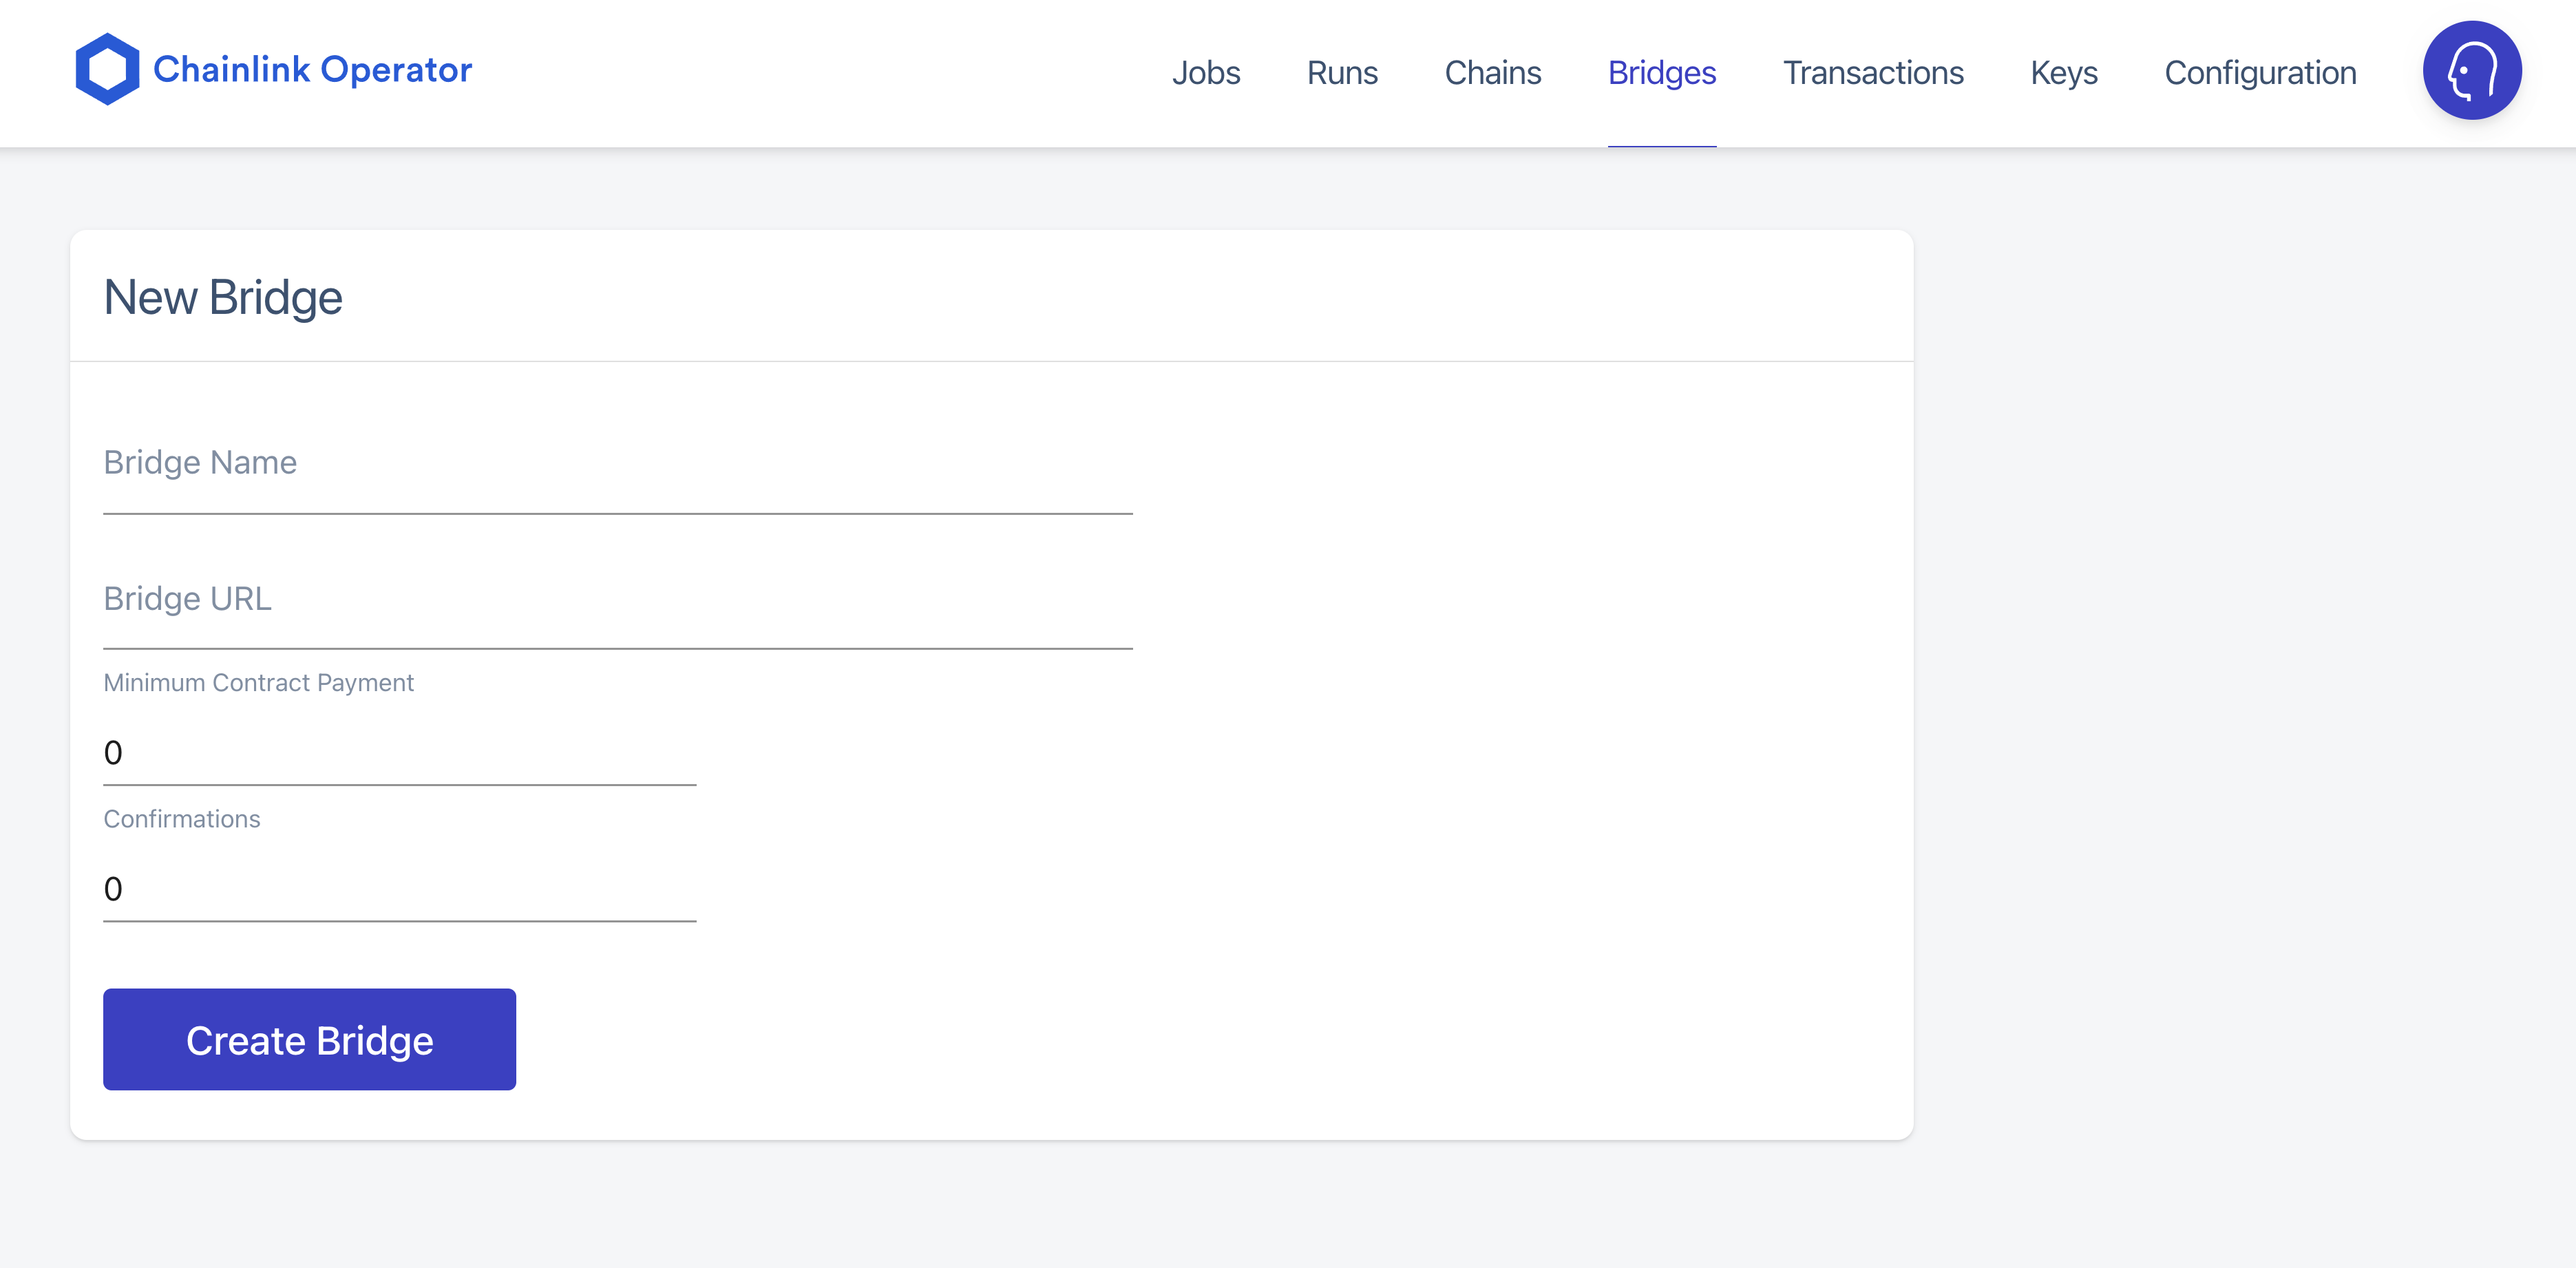
5\. You can now connect to your Chainlink node's UI interface by navigating to [http://localhost:6688](http://localhost:6688/). Use the API credentials you set up earlier to log in.
Chainlink Operator UI
### Contract Creator: Using an external adapter
```solidity
function requestMWAPrice(string _coin, string _market)
public
onlyOwner
returns (bytes32 requestId)
{
Chainlink.Request memory req = _buildChainlinkRequest(SPEC_ID, this, this.fulfill.selector);
req._add("endpoint", "mwa-historic");
req._add("coin", _coin);
req._add("market", _market);
req._add("copyPath", "data.-1.1");
req._addInt("times", 100);
requestId = _sendChainlinkRequest(req, oraclePayment);
}
```
### Developers: Requesting Data
Developers of external adapters will need to know how the Chainlink node requests data from it, and how the data should be formatted for a response.
Here is a complete example of a simple external adapter written as a serverless function. This external adapter takes two input fields, inserts the API key as a header, and returns the resulting payload to the node.
```javascript
// example
let request = require("request")
exports.myExternalAdapter = (req, res) => {
const url = "https://some-api.example.com/api"
const coin = req.body.data.coin || ""
const market = req.body.data.market || ""
let requestObj = {
coin: coin,
market: market,
}
let headerObj = {
API_KEY: "abcd-efgh-ijkl-mnop-qrst-uvwy",
}
let options = {
url: url,
headers: headerObj,
qs: requestObj,
json: true,
}
request(options, (error, response, body) => {
if (error || response.statusCode >= 400) {
let errorData = {
jobRunID: req.body.id,
status: "errored",
error: body,
}
res.status(response.statusCode).send(errorData)
} else {
let returnData = {
jobRunID: req.body.id,
data: body,
}
res.status(response.statusCode).send(returnData)
}
})
}
```
Currently, we have successfully launched the Chainlink Node UI and implemented contract declaration and data requests in a JavaScript environment.
Users can add external adapters to a Chainlink node according to their needs by creating a bridge in the Node Operators Interface. They can also access other existing third-party APIs through Any API. Note that during this process, it's necessary to declare Jobs to the Chainlink Node. Below are detailed reference links:
1. Bridge:[ https://docs.chain.link/chainlink-nodes/external-adapters/node-operators](< https://docs.chain.link/chainlink-nodes/external-adapters/node-operators>)
2. Any API:[ https://docs.chain.link/any-api/getting-started](< https://docs.chain.link/any-api/getting-started>)
3. Jobs:
---
# Agent Instructions
This documentation is published with GitBook. GitBook is the documentation platform designed so that both humans and AI agents can read, navigate, and reason over technical content effectively. Learn more at gitbook.com.
## Querying This Documentation
If you need additional information that is not directly available in this page, you can query the documentation dynamically by asking a question.
Perform an HTTP GET request on the current page URL with the `ask` query parameter, and the optional `goal` query parameter:
```
GET https://docs.2pm.network/model-inference/getting-inference-results-on-chain/oracle-adapters.md?ask=&goal=
```
`ask` is the immediate question: it should be specific, self-contained, and written in natural language.
`goal` is optional and describes the broader end goal you are ultimately trying to accomplish on behalf of the user. GitBook uses it to tailor the answer towards what is most useful for that goal.
The response will contain a direct answer to the question and relevant excerpts and sources from the documentation.
Use this mechanism when the answer is not explicitly present in the current page, you need clarification or additional context, or you want to retrieve related documentation sections.